Sample Lessons
All Lessons in Our Courses Include Teaching Videos, Text Versions of Lessons, and Step-by-Step Activities
Preview the Online Classroom Welcome Video
Walk through the online classroom and learn more about the different learning materials available in all our courses.

Lesson A-15:
Nested If Statements & String/Integer Conversion
This lesson is included in the following courses:
- Basic Electronics + Coding Course
- Electronics + Coding Standard Course
- Electronics + Coding Complete Course
- Robotics Course
In this lesson, you'll learn to use logical statements in your Python code by adding increasingly complex criteria to your if statements including nested if statements and indentation formatting. You'll then move on to learn how to convert an integer to a string and vice versa, a very useful skill when building Python programs.
Nested If Statements
Strings vs. Integers
Activity #1
Activity #2
Activity #3
Want to see a complete list of the skills taught in each course?
Click here: Electronics + Coding Standard Course, Electronics + Coding Complete Course, Robotics Course

Lesson B-13:
Level Shifting &
Infrared Sensors
This lesson is included in the following courses:
- Electronics + Coding Standard Course
- Electronics + Coding Complete Course
- Robotics Course
In this lesson you’ll learn how to shift the signal level using a 74LVC245 Level Shifting Integrated Circuit, so your Raspberry Pi can work alongside devices that have a different preferred voltage level. You'll then use that knowledge to learn about both infrared obstacle sensors and line sensors including how they work as well as the Python code required to properly read their signals.
Signal Level Shifting
Infrared Obstacle Sensors
Infrared Line Sensors
Activity #1
Activity #2
Activity #3

Lesson C-6:
Working with Audio
This lesson is included in the following courses:
- Electronics + Coding Complete Course
- Robotics Course
This lesson will teach you about the audio capabilities of the Raspberry Pi and how they can be used to add audio to a project. You'll work with the PAM8302 amplifier including understanding amplifier gain and distortion. You'll then learn to use audio input and output devices such as a microphone and speaker along with the GPIO pins used to output audio. You'll then move on to learn to use code to control audio functioning including specifically the arecord and aplay commands.
Working with Audio Part One
Working with Audio Part Two
Working with Audio Part Three

Lesson D-11:
Robot Motor Pulse Width Modulation & Calibration
This lesson is included in the following course:
- Robotics Course
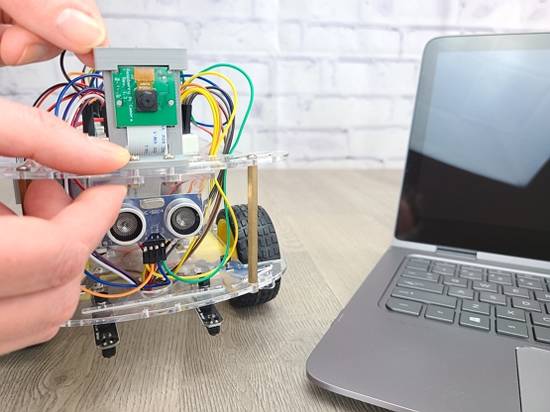
In this lesson you'll learn to control your robot's motor speed using pulse width modulated signals which allow for moderated speeds in between the 0% and 100% speeds available through the Raspberry Pi's high/low digital signals. Moderated speeds are useful for making turns and following a line course. You'll also learn to systematically calibrate the two motors so your robot moves in the desired direction.
Robot Motor Pulse Width Modulation (PWM) & Calibration
Want to see a complete list of the skills taught in each course?
Click here: Electronics + Coding Standard Course, Electronics + Coding Complete Course, Robotics Course
