
We Make It Easy to Learn
How It Works
1Pick a course. We offer several courses from basic electronics and coding, to building a robot.
2Equipment kit ships to you. High-quality electronic components all organized for you.
3Log in and start learning. Your online classroom account will be ready to go.

What Our Users Say

I'm extremely happy. I just love going through these lessons. Very easily understood with very good written knowledge as well as really informative and fun hands on projects. I look forward to each new learning experience.
DAVID G.

This course was engaging, interactive, and informational. The highlight of this course is the hands-on portion; it brings the learned information into practical use. It is highly recommended for beginners.
GREGORY S.

The experience has been great, having never used python before I appreciated the code lessons. The fact it just wasn't do x,x,z to put together but actually spent some time explaining the theory as well as how the gear works was fantastic.
CHRISTOPHER G.

Congratulations on an excellent product. It has met my needs and tics all the boxes on format, clarity, progressive instruction, quality of materials, organization of material, cautions...
JOHN C.

This course is great. I have had some electronics back ground but it is great to get a refresher on some of this and the points that I did not know was great.
CHARLES A.
I wanna say this is the one of the best if not the best educational course/kit/package for beginners on the market! Would highly recommend!
HAADI M.
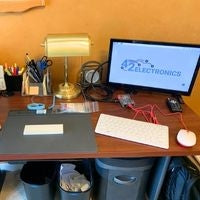
Learn Electronics + Coding With Us
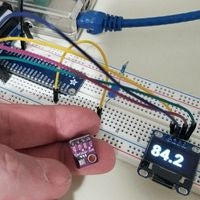
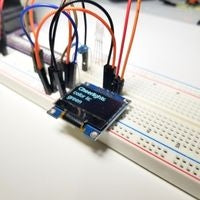
RFID Reader Project
In Lesson B-11 you will learn to use an RFID reader in your projects. Once it's installed in your circuit, you will write the code to program the access cards and then you can tie access to other functions in a project such as keeping a data log or activating an alarm.


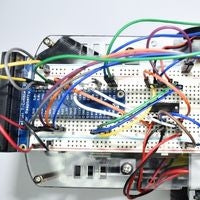
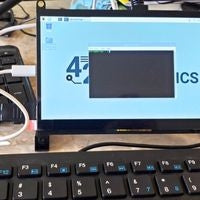
Raspberry Pi Camera Project
Gather real time data and write programs to react to it. Lesson C-12 will teach you to use a Raspberry Pi camera. In the robotics course, you'll later use those skills to install the camera on the robot and create decision making programs based on what the robot sees.


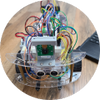
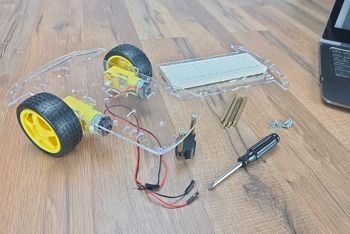
Install and Configure a Robot's Motors
Building a fully mobile and programmable robot means getting those motors installed and calibrated so the robots movements can be accurately controlled. In Lesson D-3 you'll work through installing the motors while building the robot chassis. Later in Lessons D-10 and D-11 you'll learn to work with a motor drive IC, draw on your pulse width modulation knowledge from a previous lesson, and write the code to calibrate the motors.


The Best Way to Learn
Self-Paced Video Lessons
Teach you the how and why behind each electronic component and line of code
Step-by-Step Activities
Help you hone your new skills
High-Quality Equipment Kit
Sets you up with organized components to use during the course and for your own projects later
Help When You Need It
Our team answers your questions

Beginners Welcome
Not sure where to start on your own projects? Our courses were designed with beginners in mind.
All courses start with the fundamentals to ensure you have a solid understanding of how every part of a circuit works and how to write each line of code.

Join Thousands of Users!
Our courses make it easy to learn electronics and coding.


FAQ
Ready to Start?
All our courses start at the beginning and teach foundational skills before moving on to higher level skills. Beginners can use any of our courses. Pick the one that covers all the skills you want to learn.
Choose a Course