Learn More
What Will You Learn in the Electronics + Coding Standard Course?
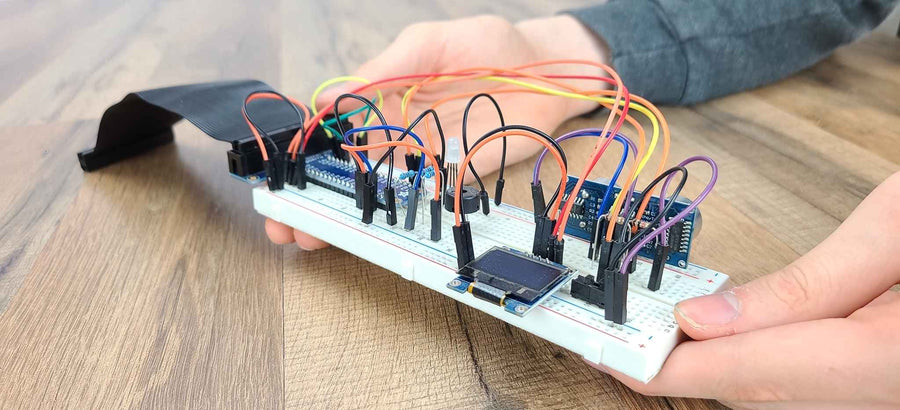
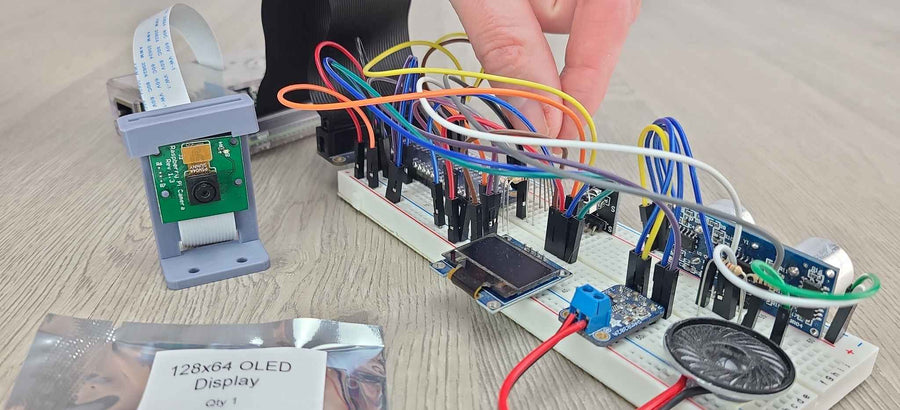
This course is designed to start at the very beginning to systematically teach you to work with electronic components, use a Raspberry Pi, and write Python code. We then move on to teach you to work with a number of sensors as well as intermediate-level Python code commands.
What Will You Learn in the Raspberry Pi + Python Complete Course?
This course is designed to start at the very beginning to systematically teach you to work with electronic components, use a Raspberry Pi, and write Python code. We then move on to teach you to work with increasingly complex electronic components as well as both intermediate and advanced-level Python code commands.
What Will You Learn in the Robotics Course?
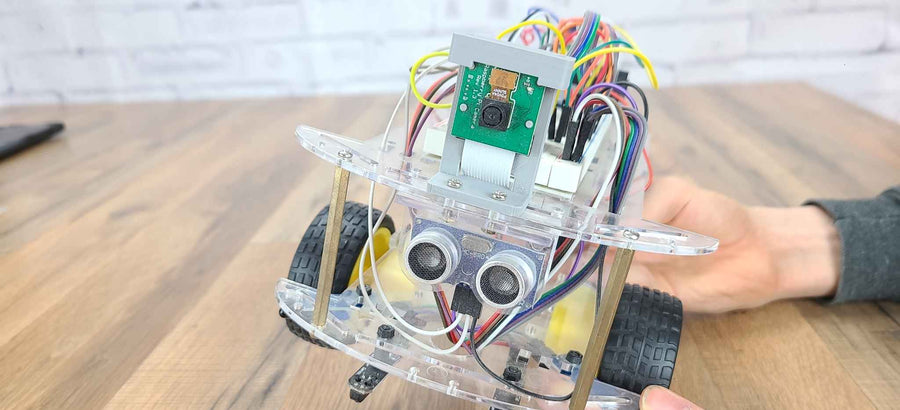
Curious what we teach in our Robotics Course? This course is designed to start at the very beginning to systematically teach you to work with electronic components, use a Raspberry Pi, and write Python code. We then teach you to use those skills to build a mobile, programmable robot.
Calculating Resistor Value
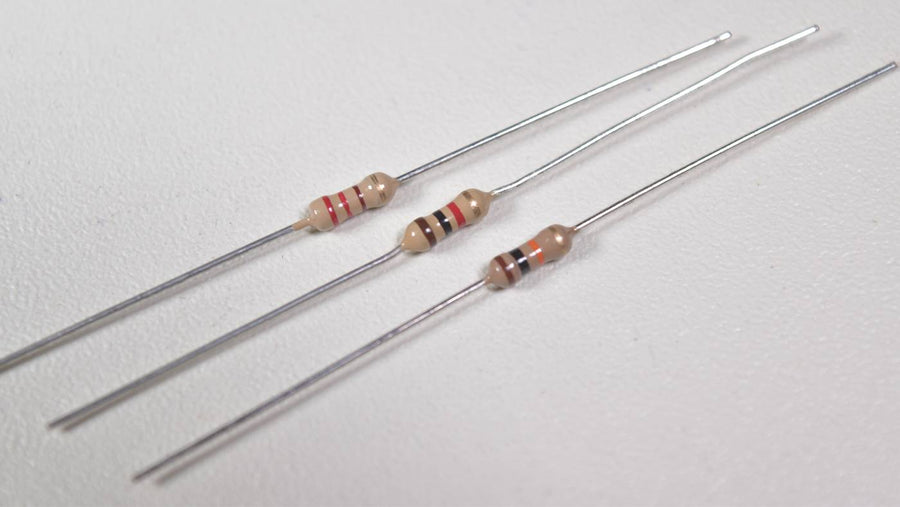
In the Intro to Robotics Level A kit, we include three different size (value) resistors which can be used for different projects. To read the value of a resistor, first determine how many bands your resistor has present. This will determine whether you use the four-digit code or the five-digit code.
Building a Level Shifting Circuit
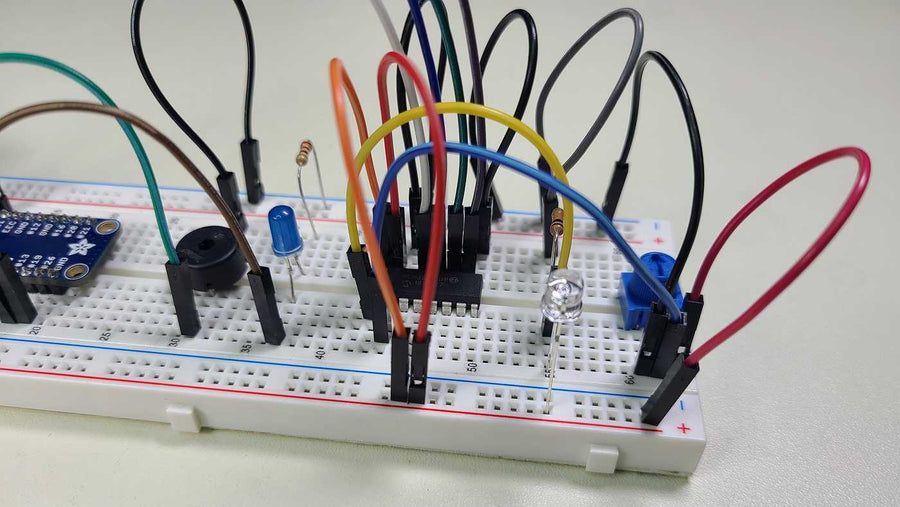
The Raspberry Pi does not have the capability to input or output analog signals using its GPIO pins so in Lesson B-13 we teach you to build a level shifting circuit. The 74LVC245 integrated circuit is an 8-channel level shifter, included in the Level B kit, that is capable of level shifting 8 signals at once.
Using a Capacitive Touch Sensor
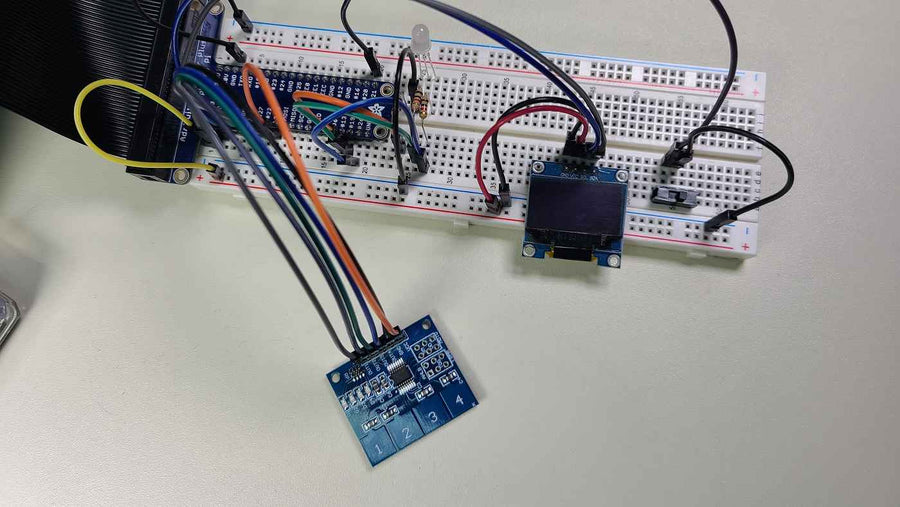
The Capacitive Touch Sensor (CTS) in the Intro to Robotics Level B kit measures the capacitance of four touchpads, and will toggle four output lines high or low based on which pads are being touched. Using a capacitive touch sensor in your electronics projects is covered in Intro to Robotics Lesson B-17.
Potentiometer: A Variable Resistor
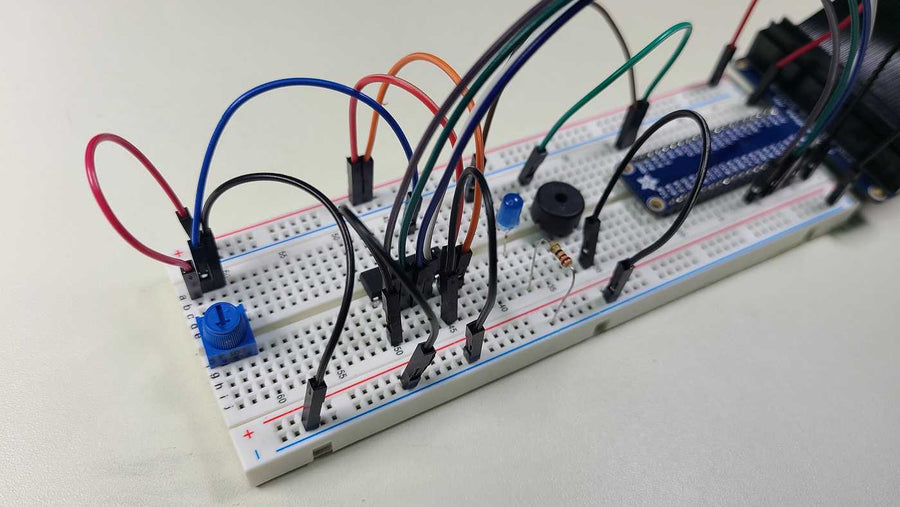
Variable resistors have a rotary knob or slider that changes their internal resistance when a user moves the knob or slider. They are commonly used in audio equipment for volume control. They can be used any time user input needs to be measured so it can be processed by a circuit or program.
Adding a Light Sensor to Your Projects
Phototransistors can be used to create analog voltage levels to indicate the amount of light the device is sensing. Due to their sensitivity, these measurements can be very accurate, allowing your circuit or program to respond to various light levels with different behavior.
Series vs. Parallel Circuits
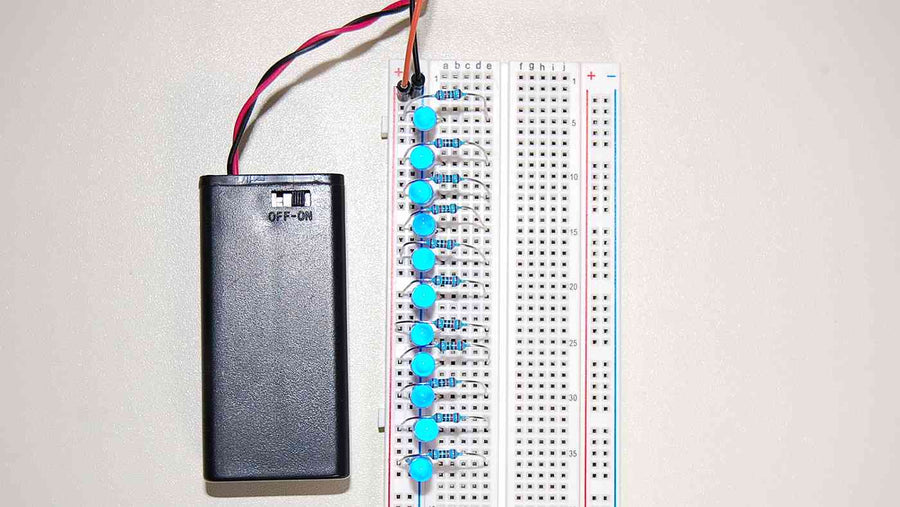
While series circuits are simpler, they also have some significant limitations. Mainly that you would need a higher voltage battery to run anything more than a few simple components. Instead, circuits are normally run in parallel which allows the battery voltage to feed equally to all paths within the circuit.
Using a 3x4 Matrix-Style Keypad
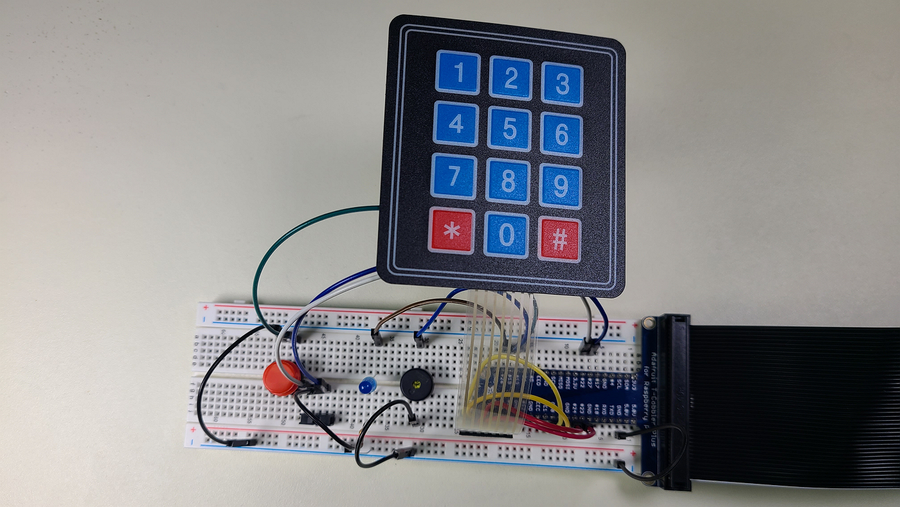
The Intro to Robotics Level B kit contains a 3x4 matrix-style keypad and we teach you to use it in Lesson B-7. The matrix keypad supplied in your kit has 7 wires exiting the keypad that connect to the rows and columns. Each row and column has its own connection.
Powering a Mobile Robot
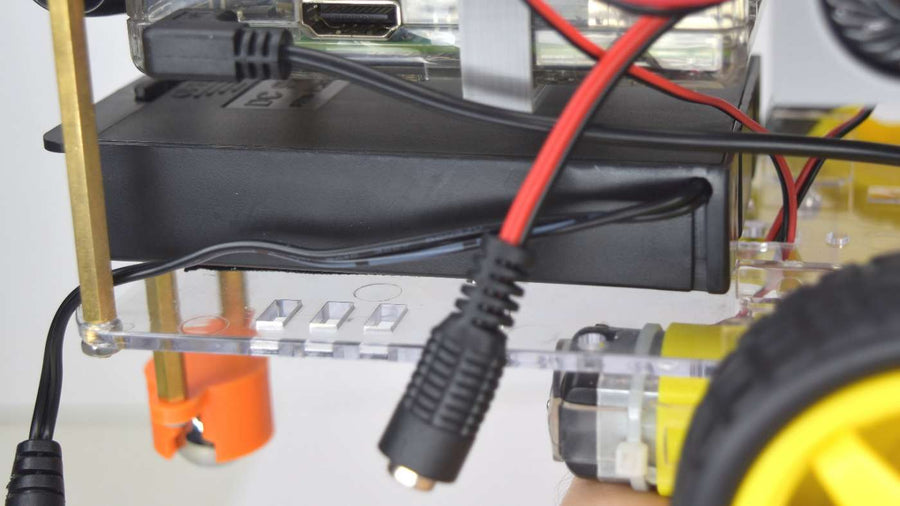
In Lesson D-9, we teach you how to power the robot using on-board batteries, which will enable the robot to be fully mobile. Powering the robot requires 6 AA cell batteries connected in series as well as a voltage regulator to safely connect the battery pack to the Raspberry Pi.
Working with Basic Electronic Components
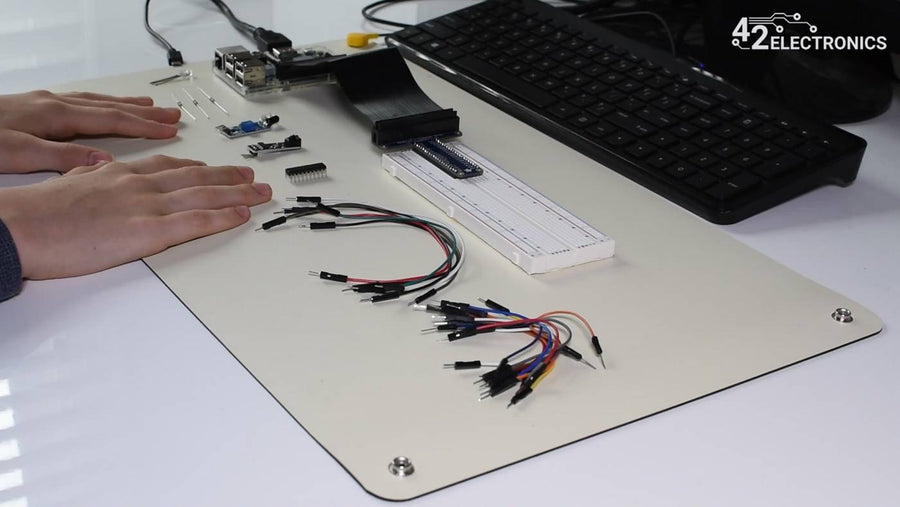
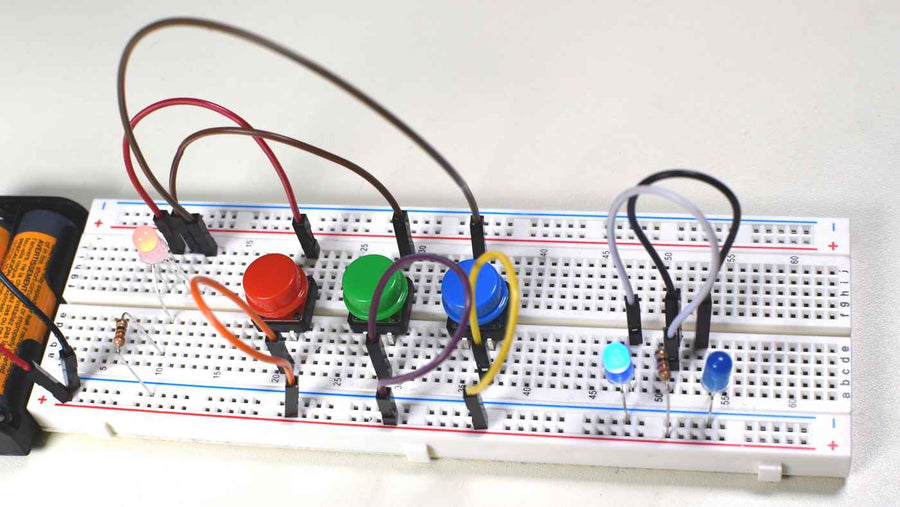
Level A of the Intro to Robotics program starts at the very beginning by teaching you to build breadboard circuits using common electronic components. This article contains excerpts from the first six Level A lessons briefly introduces breadboards, resistors, light emitting diodes (LED), jumper wires, switches, and red-blue-green (RGB) LED.

